
vRealize Easy Installer
The recent release of vRealize Automation 8.0 comes with a vastly simplified installation process and architecture. The Windows based IaaS servers have been completely eliminated! The vRealize Easy Installer is a new wizard driven installer that looks similar to the installer for the vCenter Server Appliance and takes care of deploying all of the virtual appliances you’ll need, including vRealize Suite Lifecycle Manager, vRealize Identity Manager, and vRealize Automation. Starting with vRealize Automation 8.0 you have to use vRSLCM to install vRA. Migrating from an existing vRSLCM and using an existing vIDM deployment are also both options that are available in the installer. This really simplifies laying the foundation for your vRealize Suite 2019 environment. I’m going to walk through the installation process here and highlight a couple items I thought were noteworthy.
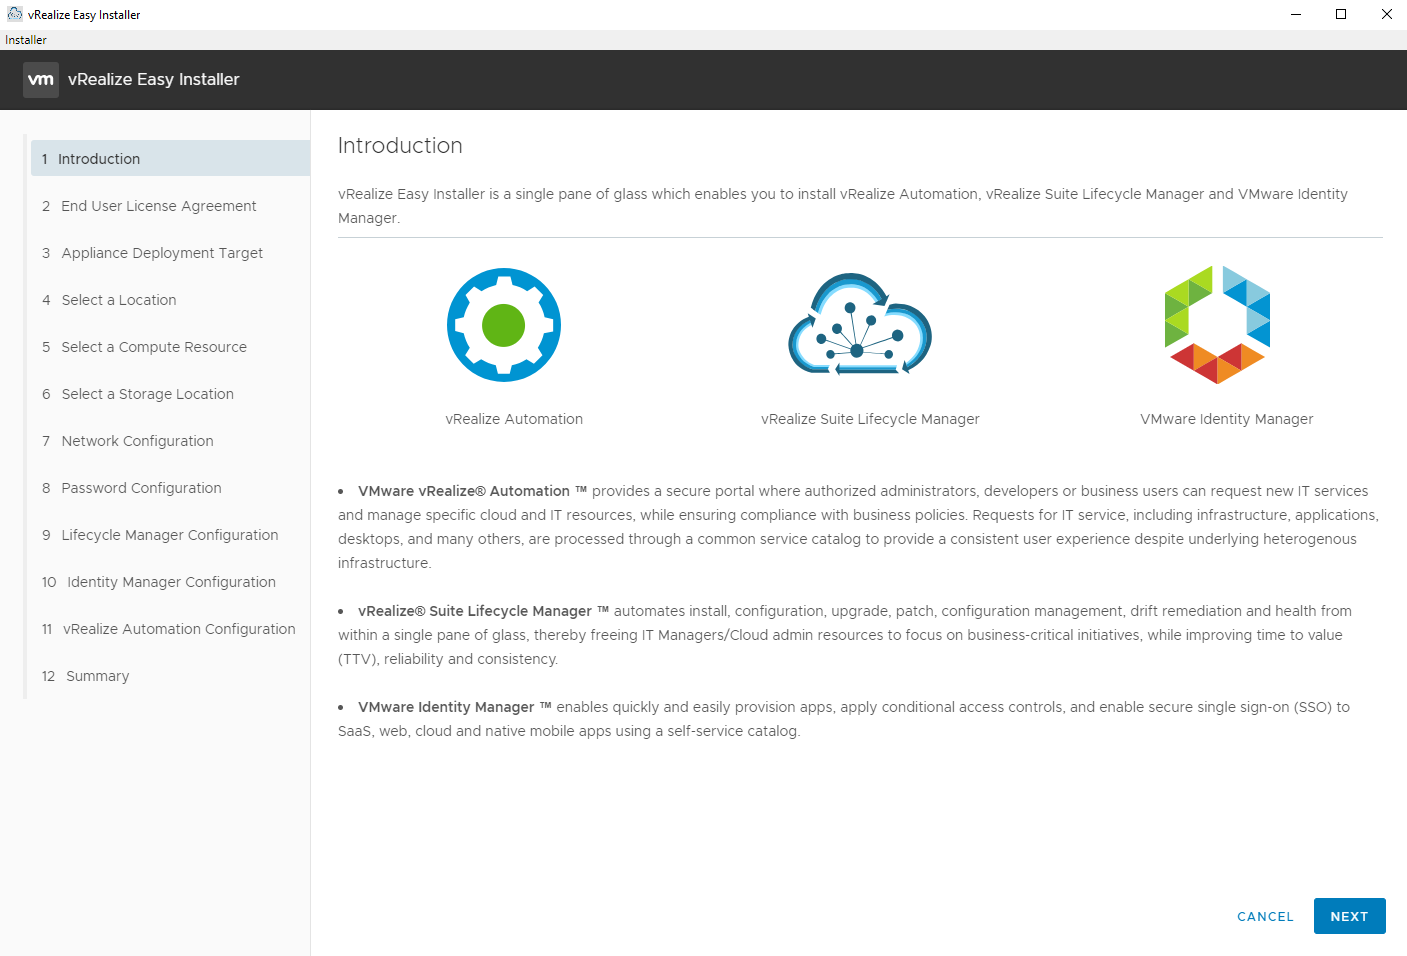
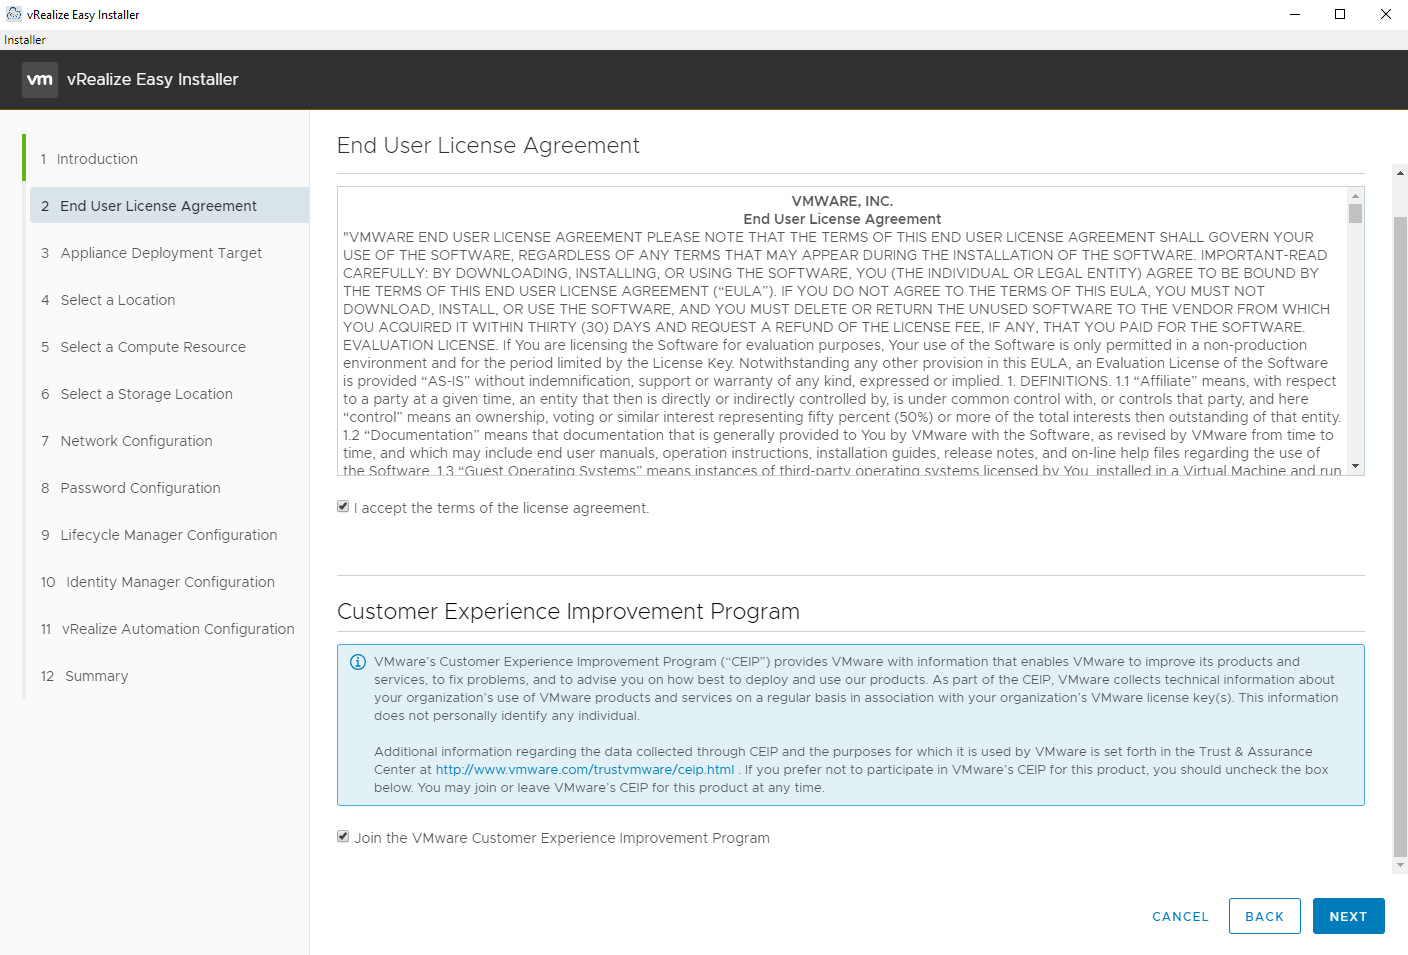
The first couple screens are fairly self explanatory.
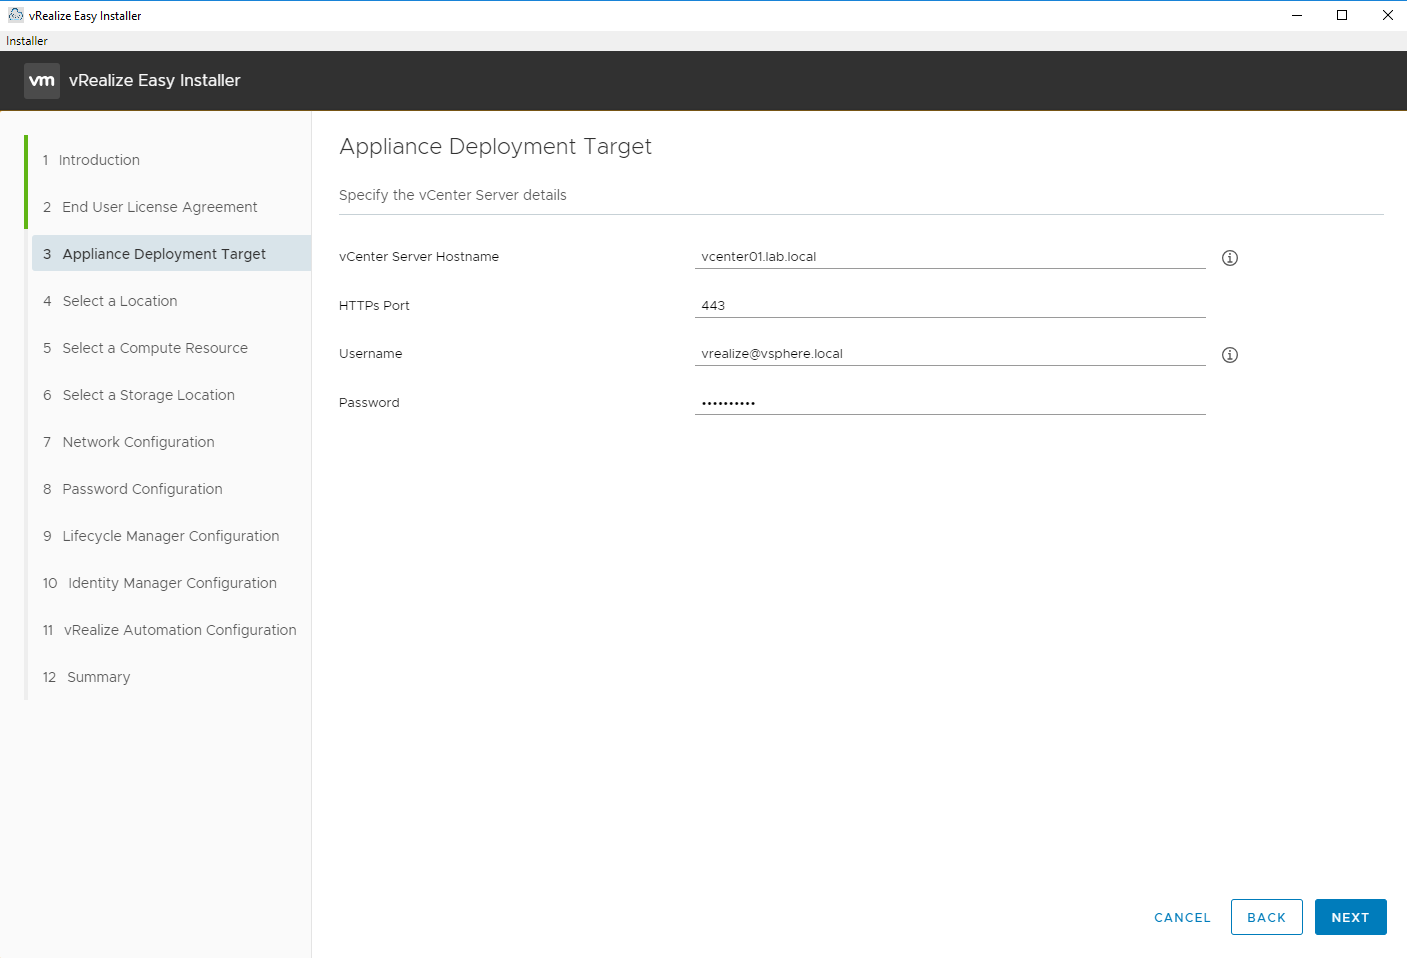
Enter the vCenter Server details to deploy the virtual appliances to.
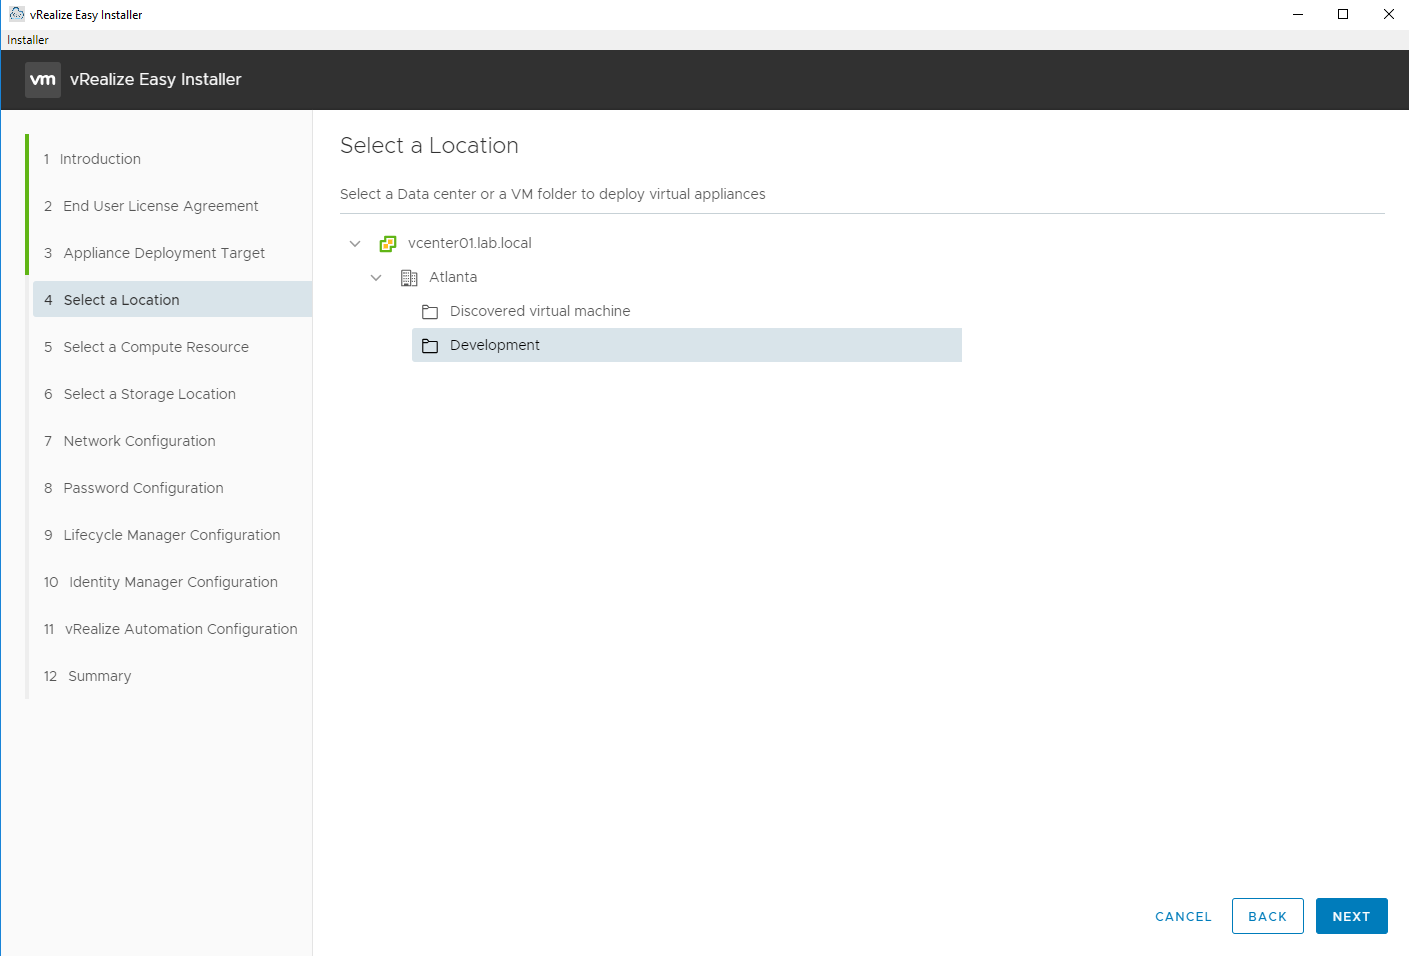
Select the VM folder to deploy the virtual appliances in.
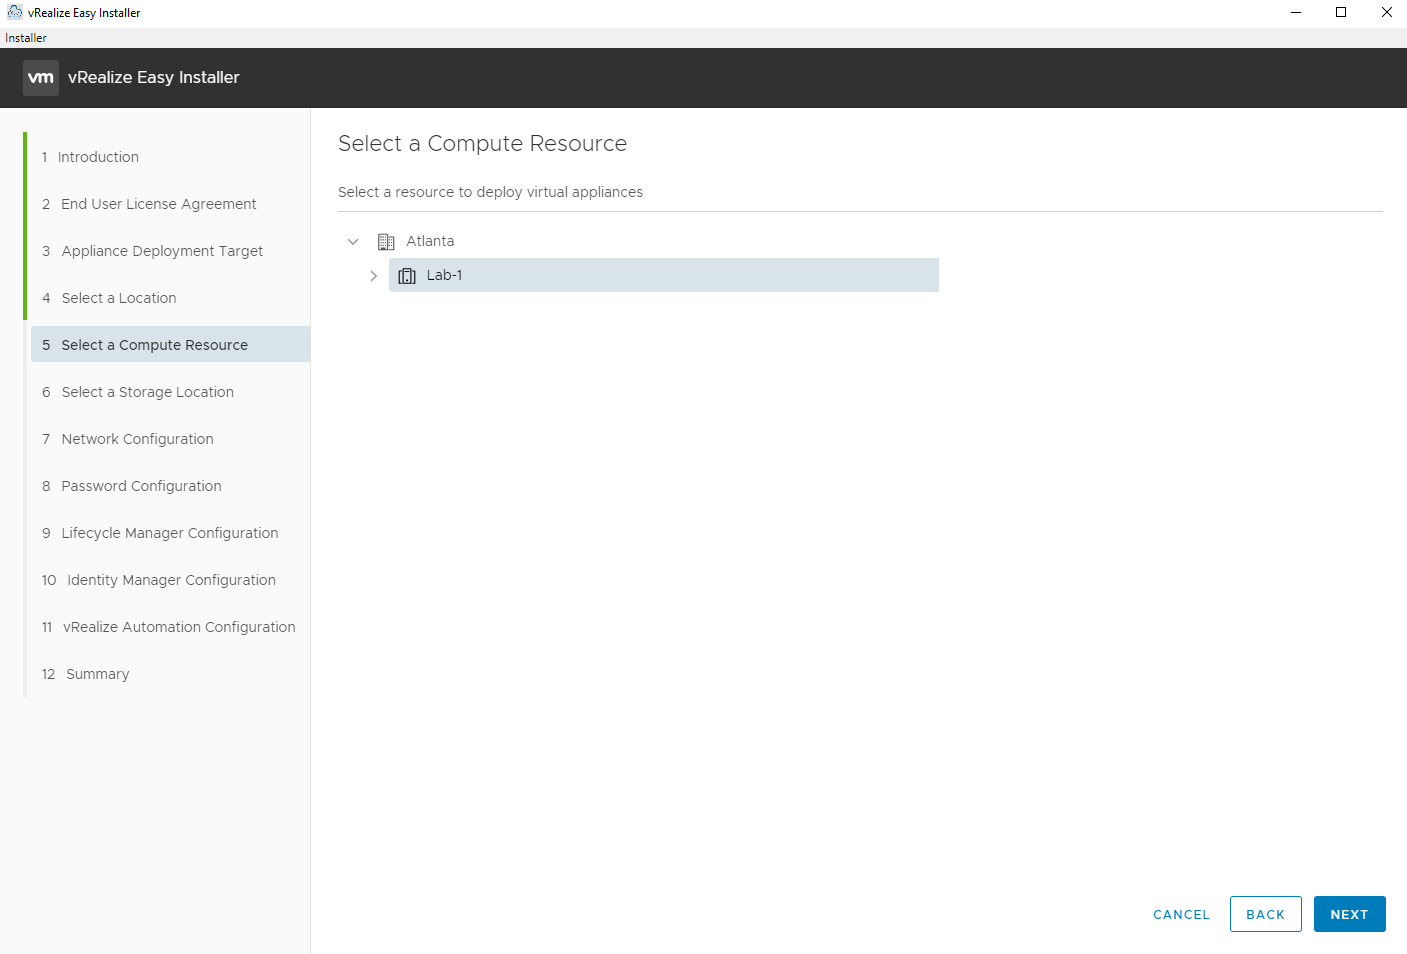
Select the Compute Cluster to deploy the virtual appliances to.
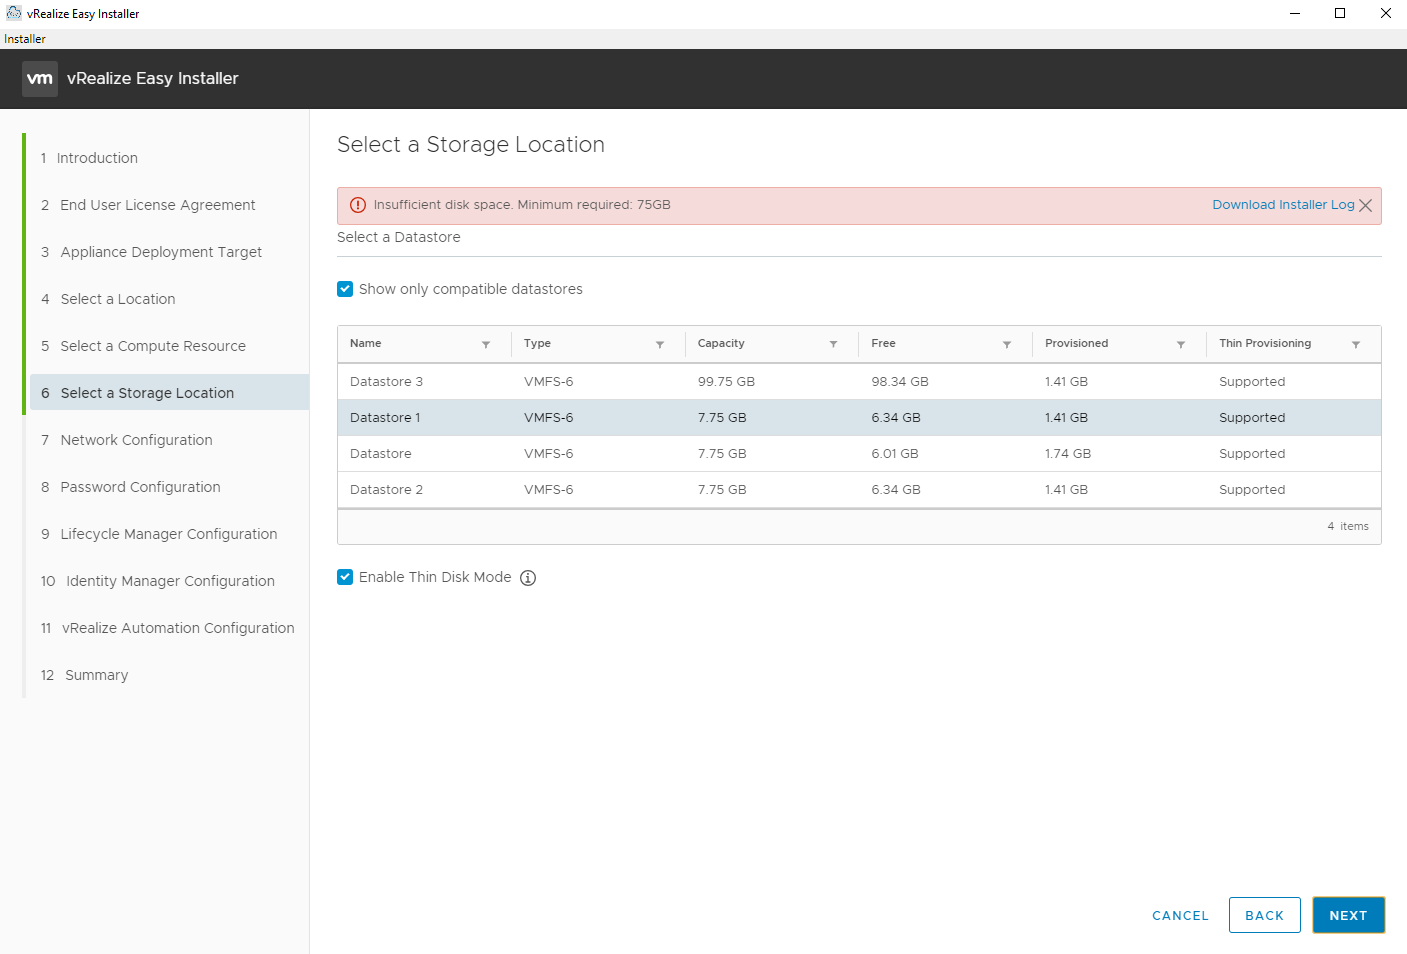
Select the Datastore to deploy the virtual appliances to. At least 75 GB of free space is required.
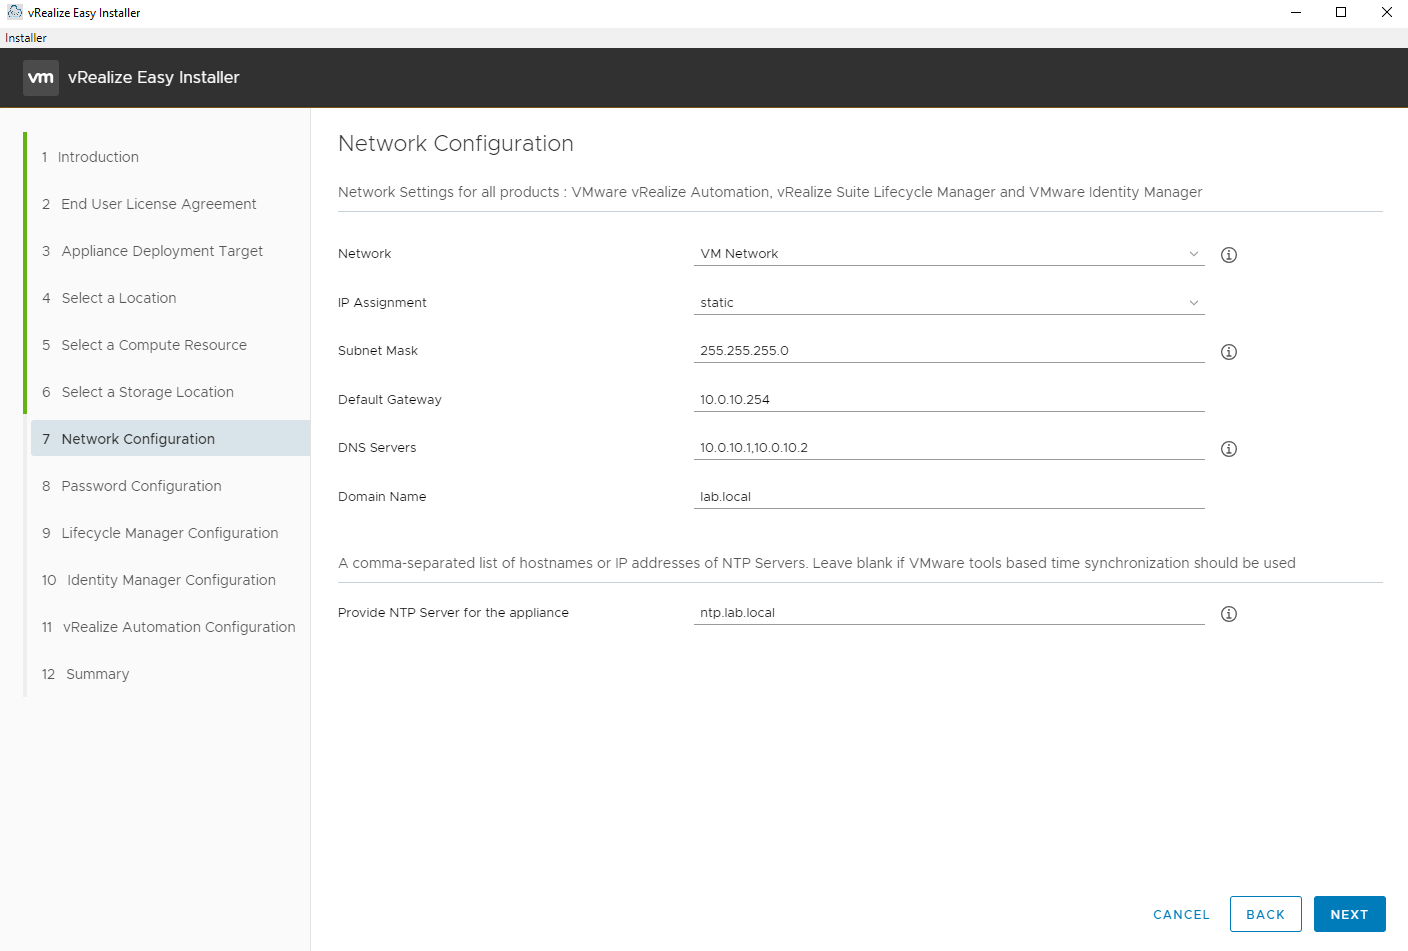
Select the Network (port group) and enter the networking details.
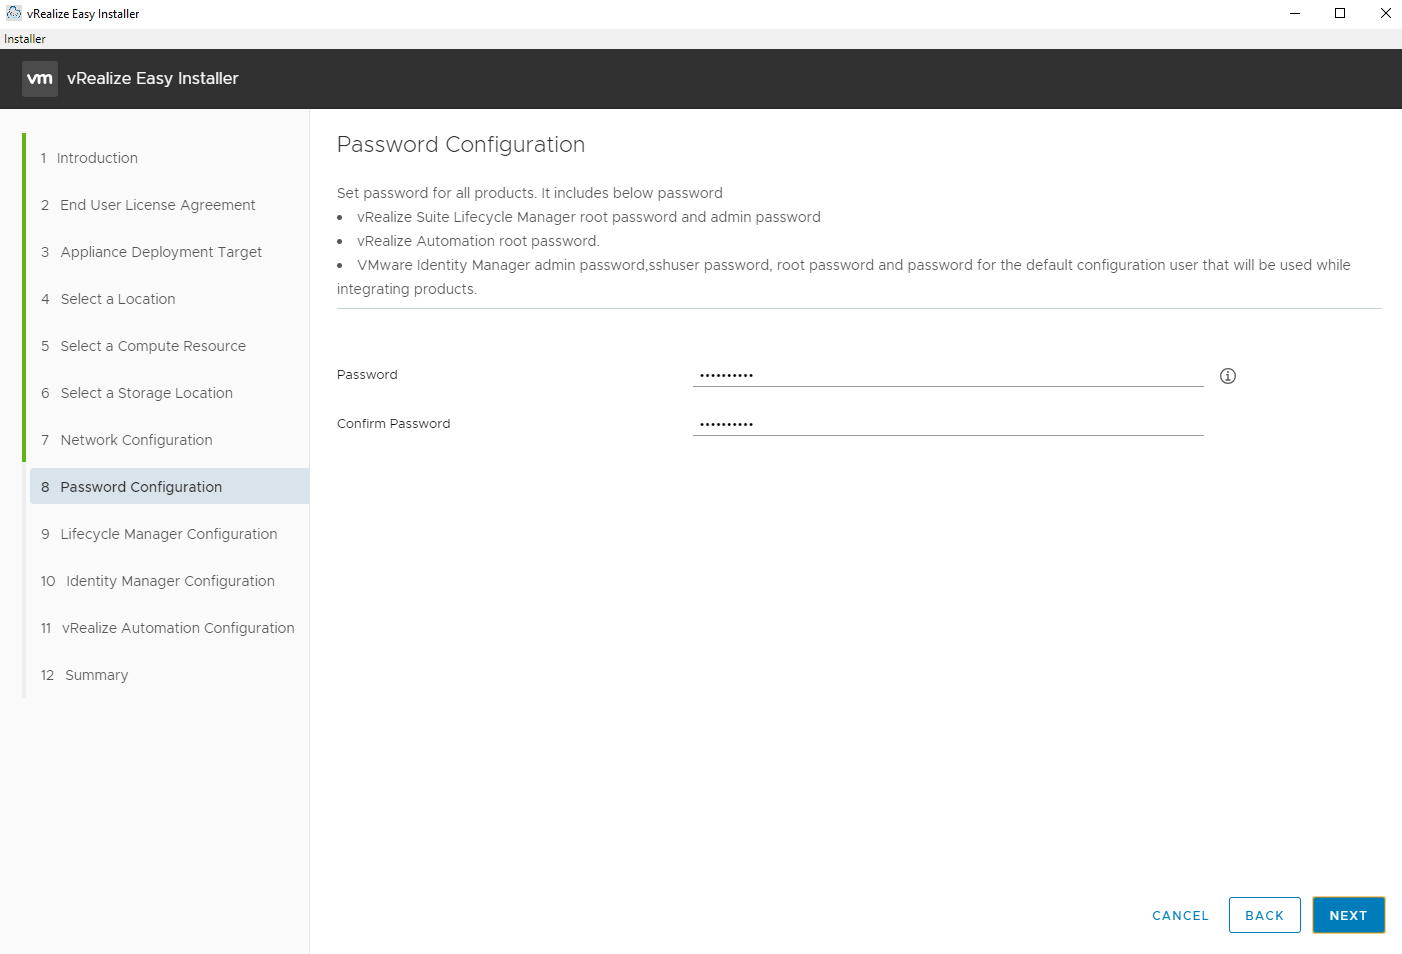
Enter the default root/admin password for this installation. Make note all of the places it will use this password. This is really convenient for using a consistent password across all of the virtual appliances. Just make sure it is a strong and secure password.
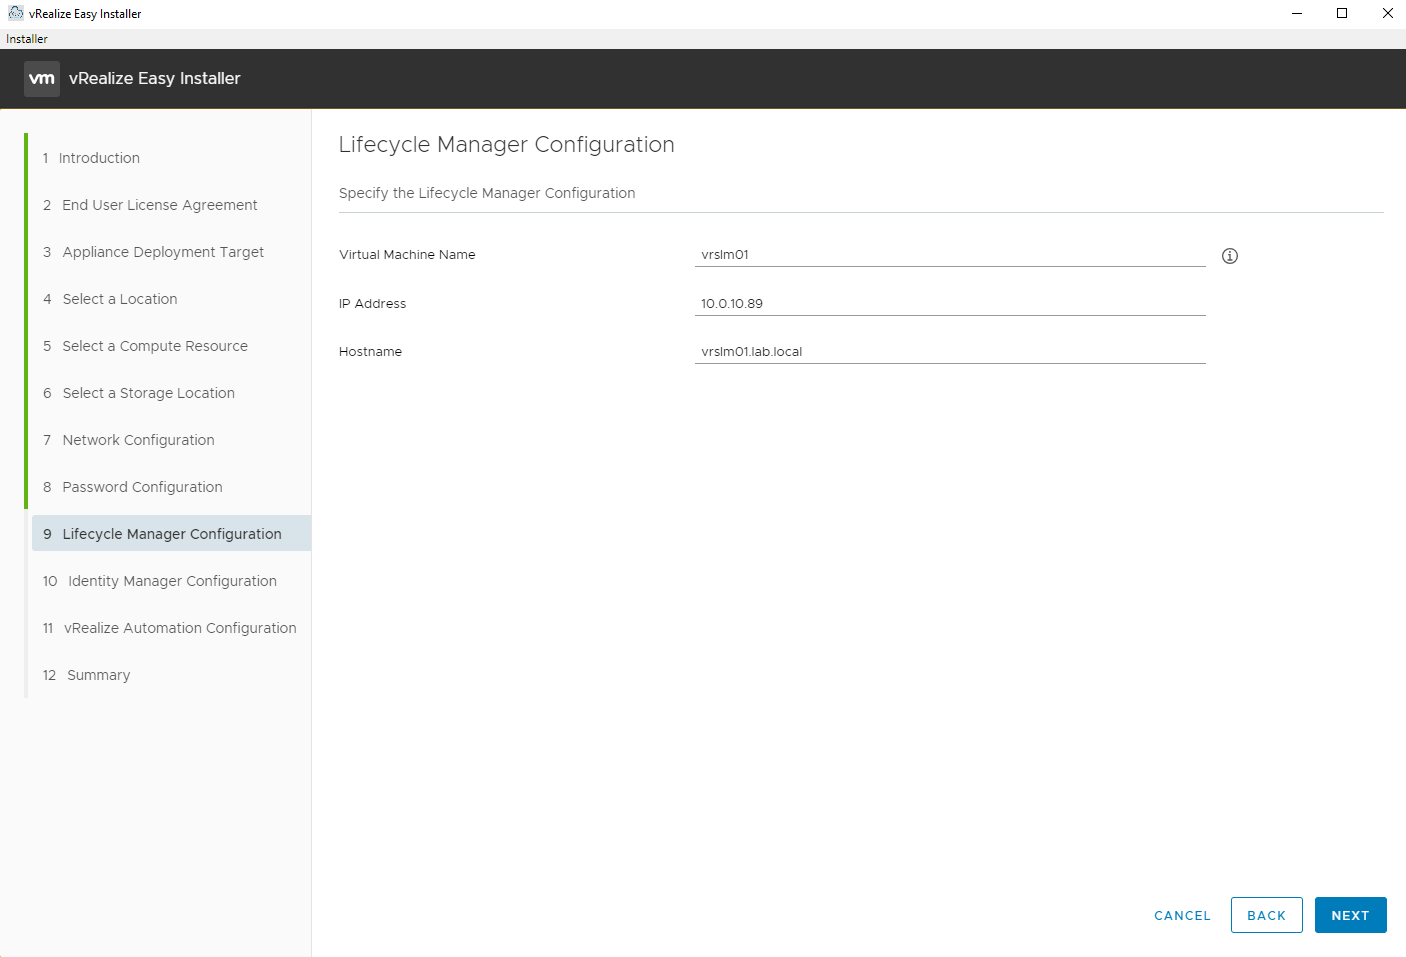
Enter the details for the Lifecycle Manager virtual appliance.
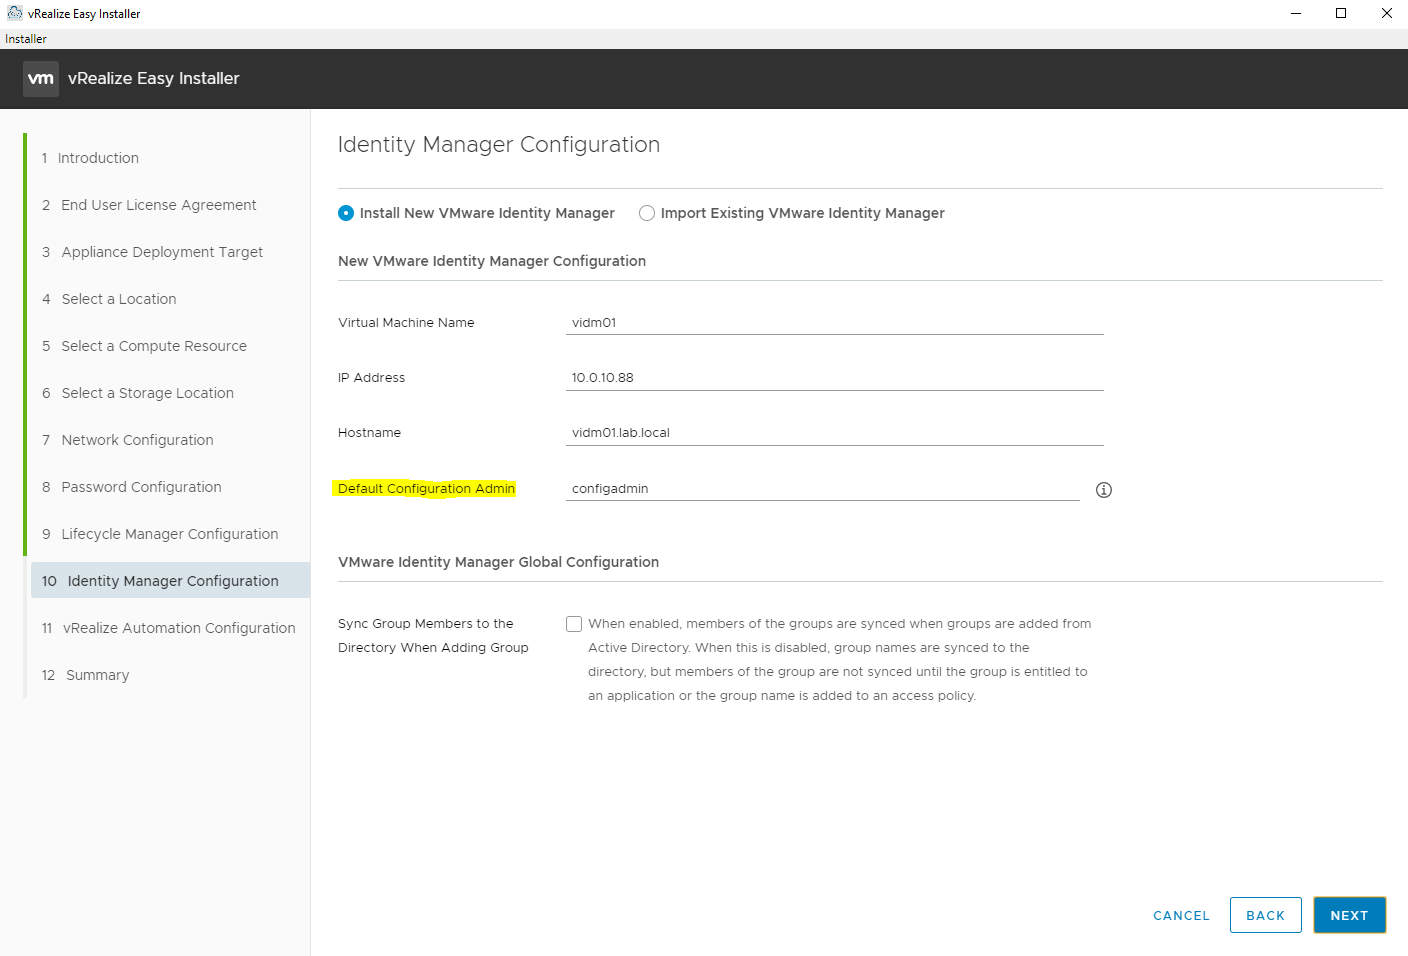
Enter the details for the Identity Manager virtual appliance. I highlighted the “Default Configuration Admin” here because this is the account you will need to initially use to login to vRealize Automation. Make note of the user name you enter here (I used “configadmin”). The password will be the one entered previously in step 8.
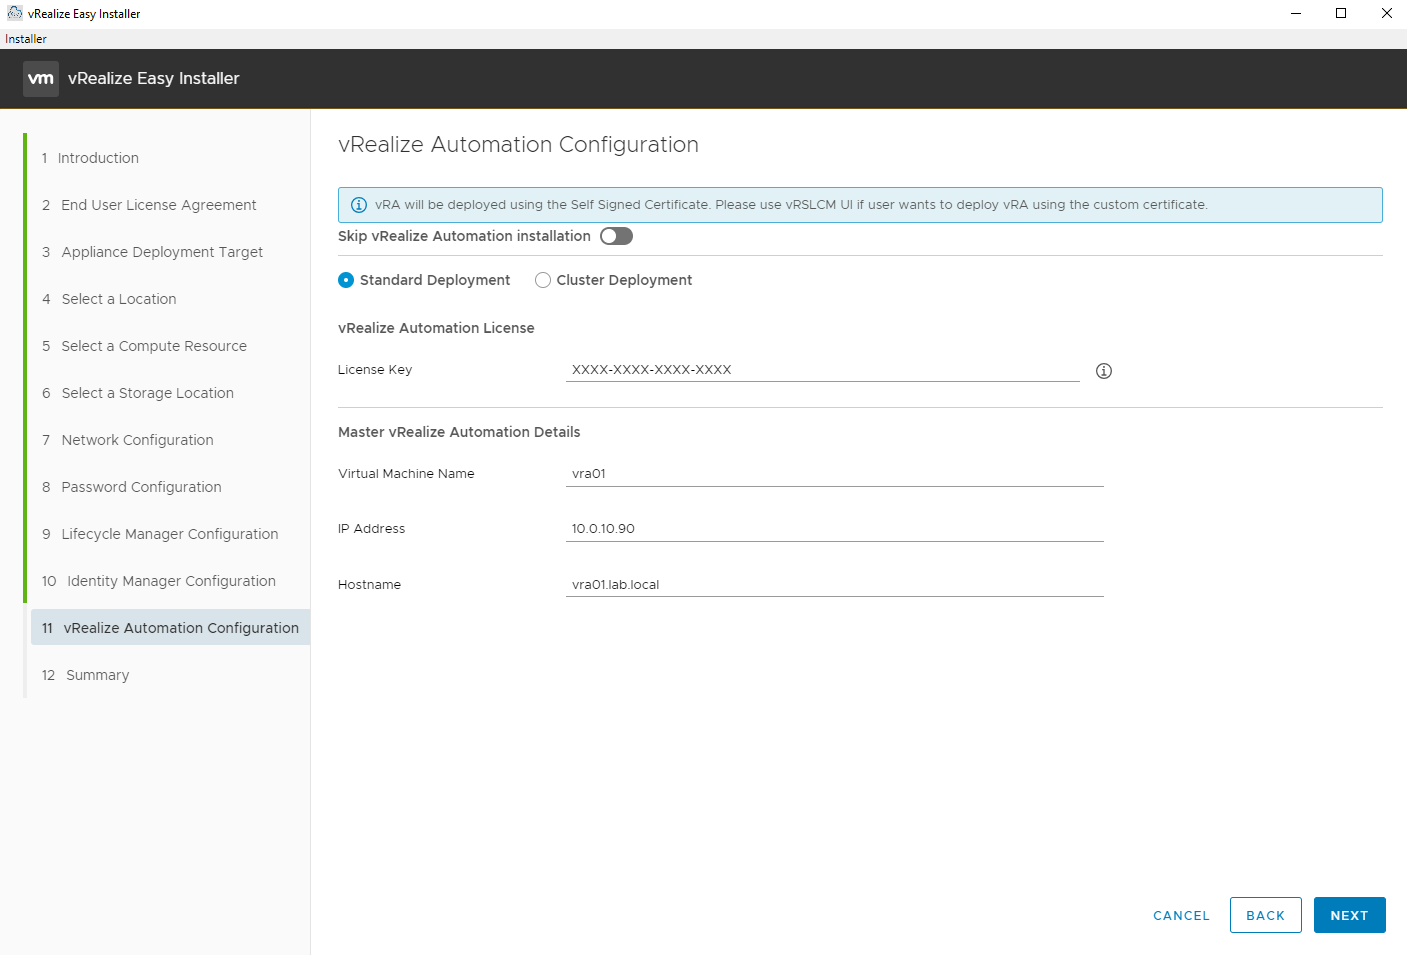
Enter the details for the vRA virtual appliance and a license key. You might need to upgrade your vRealize Suite license key(s) to vRealize Suite 2019 in your VMware licensing portal for use here.
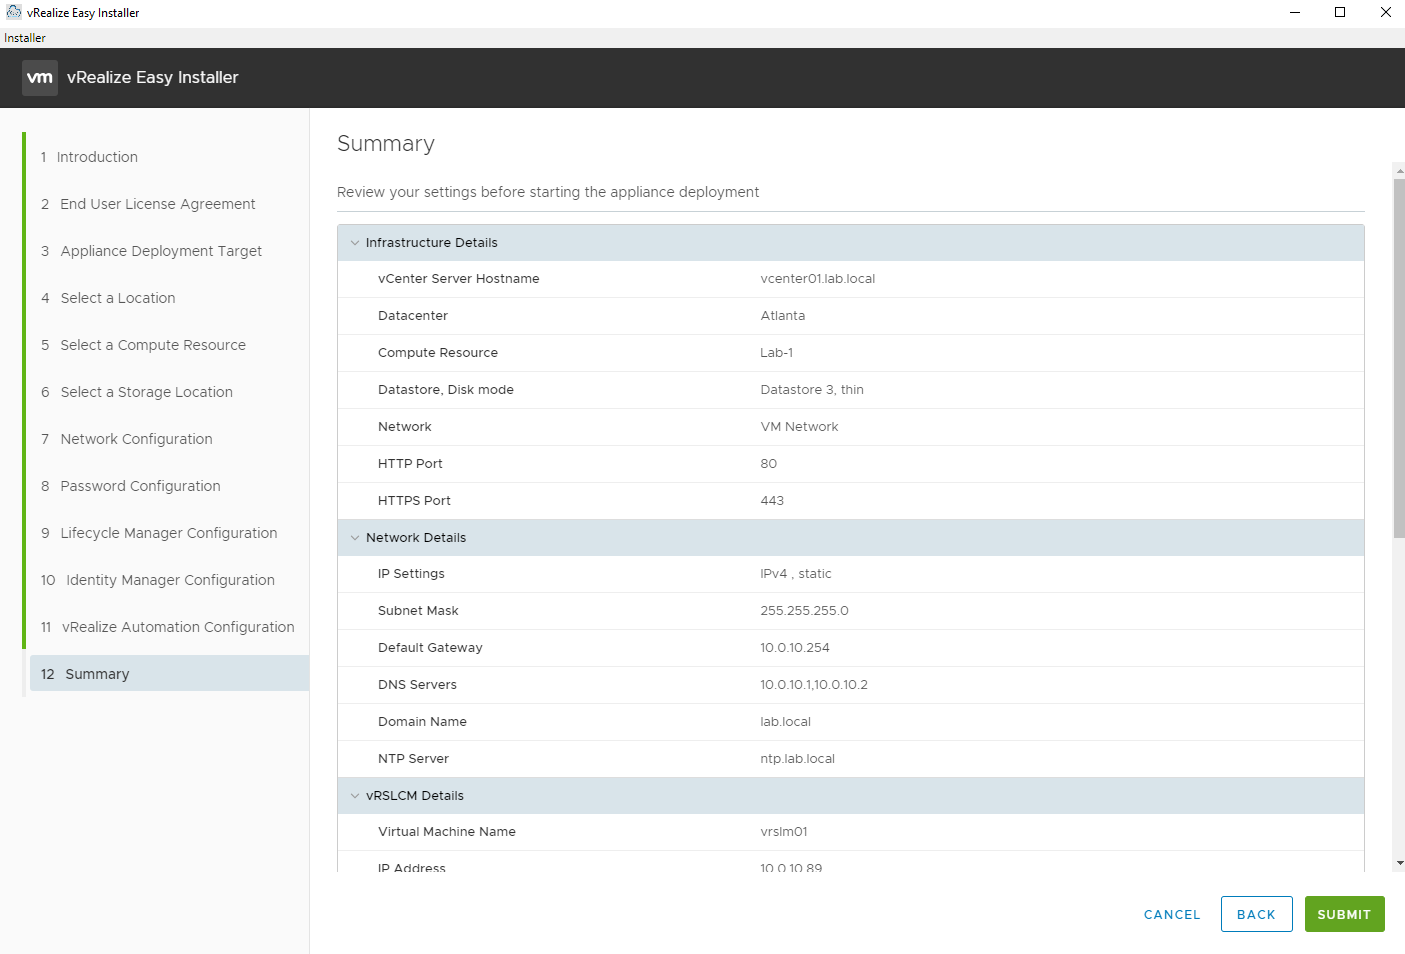
Review the summary.
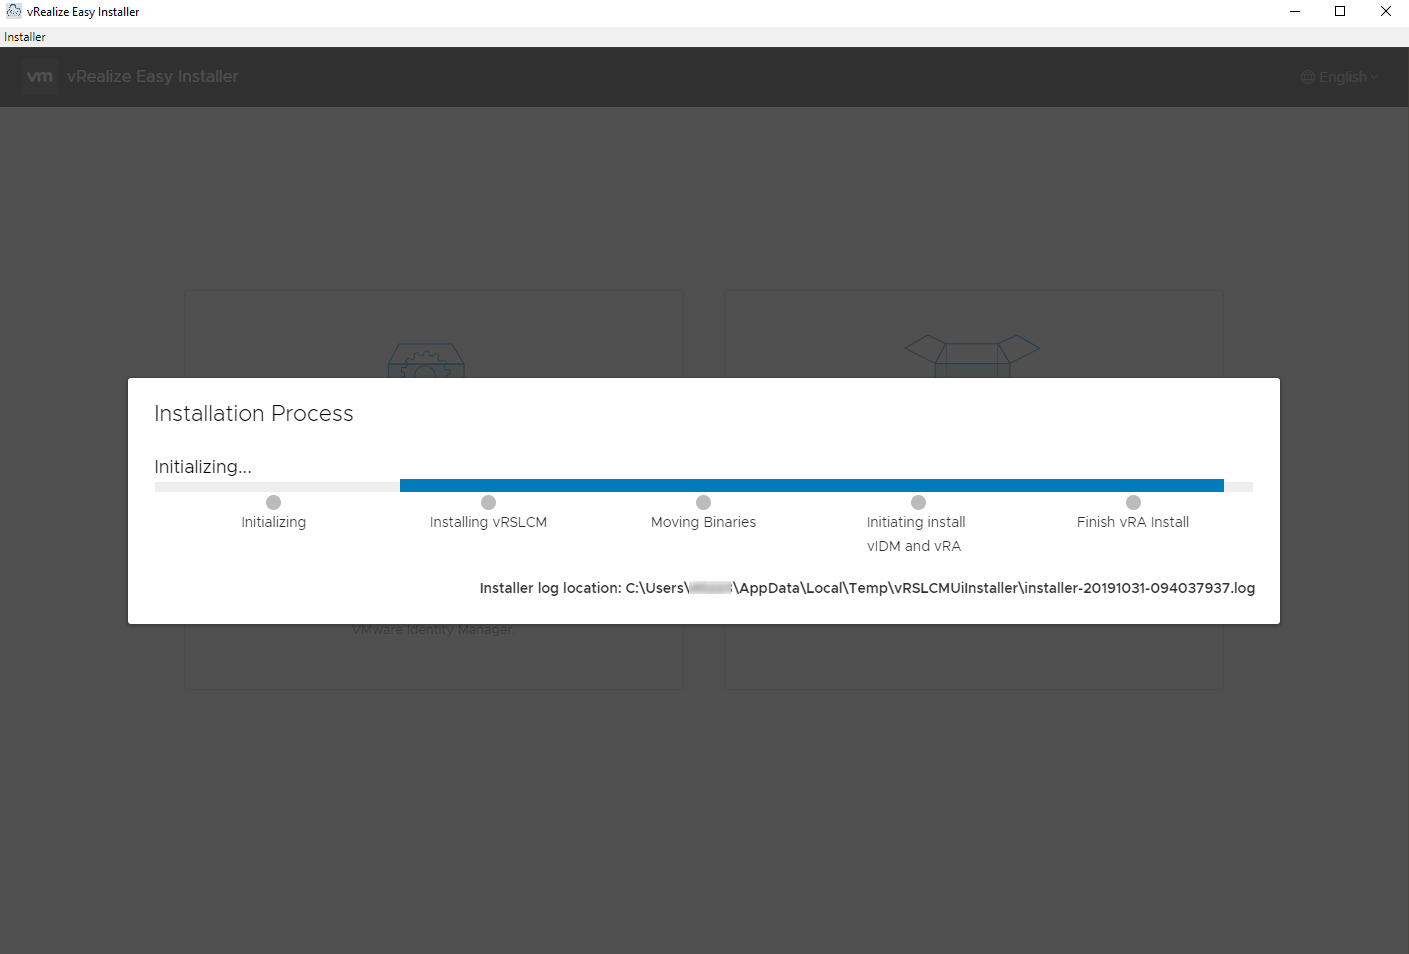
And observe the progress and/or log file.
After it’s deployed you can login to vRSLCM and configure directory authentication or deploy additional vRealize products. vRSLCM 8 offers a lot of additional management capabilities. Here’s a few other references.
- vRealize Suite Lifecycle Manager 8.0 – What’s New
- VMware vRealize Suite Lifecycle Manager 8.0 Release Notes
- VMware vRealize Suite Lifecycle Manager Documentation
Outside of the initial deployment there are a couple of things I ran into that might be noteworthy. First, if using a wildcard certificate your domain name must have a public suffix, in other words using “.local” like I have in the lab will not work with a wildcard certificate. From the vRealize Automation 8.0 release notes:
vRealize Automation 8.0 supports setting a wildcard certificate only for DNS names that match the content of the Public Suffix List (https://publicsuffix.org/) For example, a valid wildcard certificate: you can use a wildcard certificate with DNS name like “.myorg.com”. This is supported because “com” is part of the Public Suffix List. An invalid wildcard certificate example: you cannot use a wildcard certificate with DNS name like “.myorg.local”.This is not supported because “local” is not part of Public Suffix List.
I used vRSLCM to deploy another vRA environment and had a couple of pre-check errors.
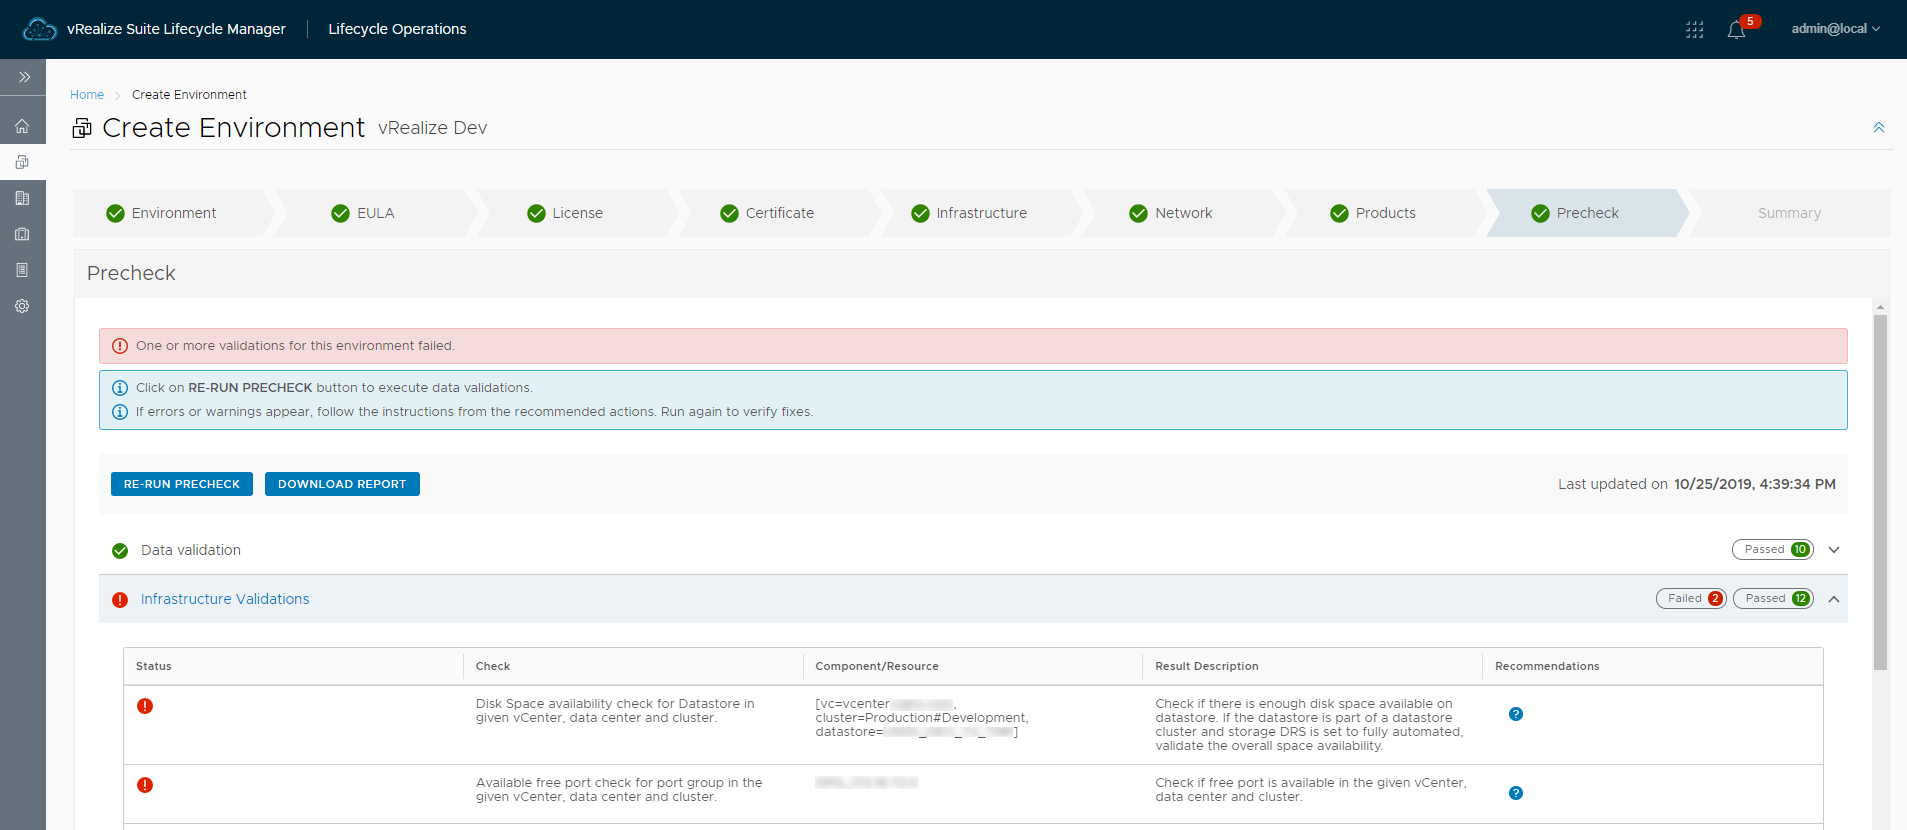
The first one regarding disk space was a bit of an oddity. I selected the thick provisioned option and despite the target datastore having about 2 TB of free space it would not pass validation. The datastore was part of a datastore cluster, so I tried using a couple of other stand-alone datastores that were not part of a datastore cluster with the same result. I ended up using thin provisioning for now and will probably investigate this further later.
The second error was caused by the port group being configured to use ephemeral binding. This is not a configuration that should typically be used, but being in a test lab it didn’t really concern me. I just had to use a port group with static binding that had ports available. More info on why ephemeral binding should not normally be used can be found in VMware KB 1022312 (Choosing a port binding type in ESX/ESXi). From the KB:
Ephemeral binding
In a port group configured with ephemeral binding, a port is created and assigned to a virtual machine by the host when the virtual machine is powered on and its NIC is in a connected state. When the virtual machine powers off or the NIC of the virtual machine is disconnected, the port is deleted.
You can assign a virtual machine to a distributed port group with ephemeral port binding on ESX/ESXi and vCenter, giving you the flexibility to manage virtual machine connections through the host when vCenter is down. Although only ephemeral binding allows you to modify virtual machine network connections when vCenter is down, network traffic is unaffected by vCenter failure regardless of port binding type.
Note: Ephemeral port groups must be used only for recovery purposes when you want to provision ports directly on host bypassing vCenter Server, not for any other case.
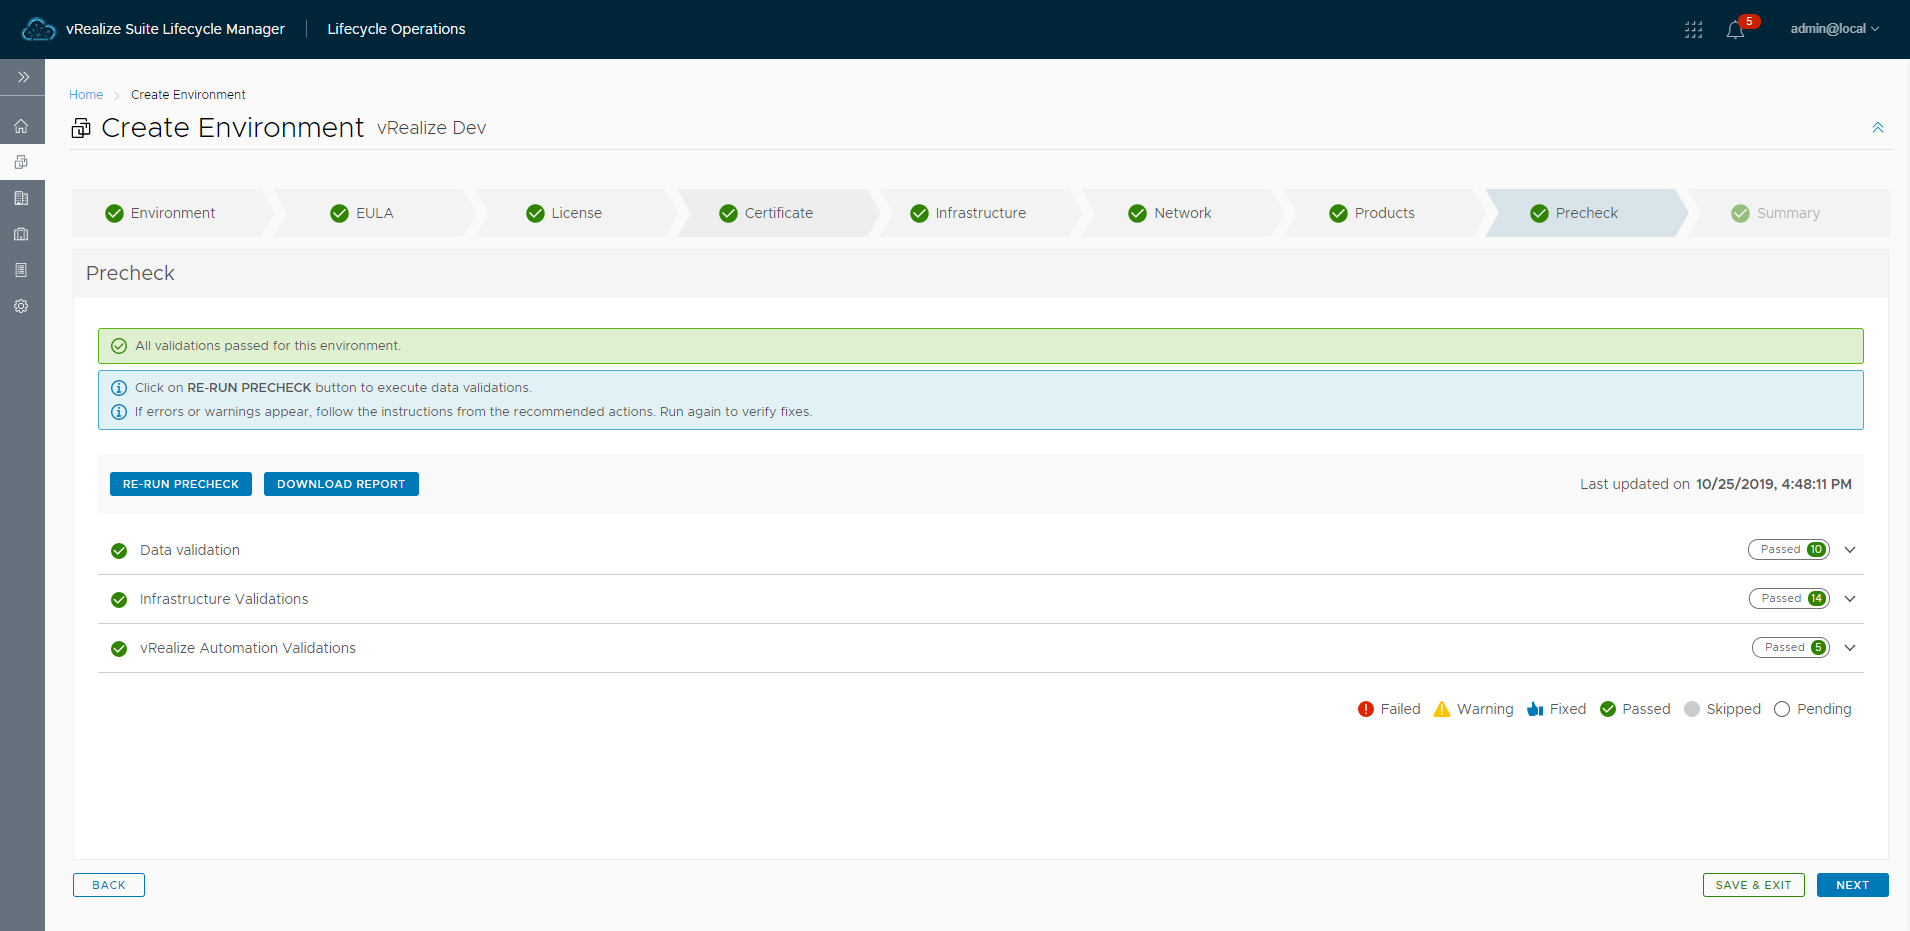
With thin provisioning selected and ports available the pre-check passed validation.
To begin setting up vRA login to the vRA appliance using the “configadmin” account created during the installation. A lot has changed in vRA 8. I recommend looking through the release notes which has links to the getting started guides and documentation.
For existing implementations you may also want to check out Migrating to vRealize Automation 8.0.
Comments